
It always amazes me how fast time flies when you do a challenge like this. Week one feels like the beginning of a long trek, and yet I feel like I blinked and I’m already seven weeks in.
This weeks project was dangerously close to becoming a flop. You essentially get three projects for the price of one this week. What do I mean? Well . . .
I’ve already made this McCall’s pattern six times. You are likely bored of it, unfortunately, I am obsessed. I originally bought the pattern because I wanted to try to make the pants. I have this beautiful, green pin striped fabric I bought on a visit to Minnesota. I envisioned it for view B.


I really like the fabric and had zero confidence that this pattern would look good on me. Honestly, I’m not sure I would have tried the shorts version if I’d tried the pants first. It’s lucky that I ended up making it for my capsule wardrobe.
I had a khaki sportswear that I decided to use as a muslin or toile. The khaki fabric was nothing special and easily replaceable.
A muslin or toile is a practice garment. Muslin is a type of fabric that people use for practice garments. You can cut up an old bedsheet, use muslin fabric or a similar type of fabric to the finished garment to practice before cutting into a more expensive or non replaceable fabric. I don’t do this often because I’m not patient, When I have made a muslin I’m always glad I did.
One way to do this is to pick a less expensive fabric that you actually like to practice on. It’s called a wearable muslin when you do this. If the project turns out, it can be added to your wardrobe unlike muslin fabric or an old bedsheet.
The khaki sportswear fabric was my wearable, muslin version of view B before I cut into my green fabric.
I made view A six times at this point.


This version has eight pleats that you make before you fold over the top. The shorts have a facing that is part of the shorts themselves. The facing folds to the inside to create the look. This is a great way to assemble it because it makes it easy to take in or out the side seams and the back seam if you need more or less room. These shorts are actually very easy to tailor.
View B is assembled differently. This view has the same amount of pleats but instead you fold over the facing before you make the pleats. This makes it massively hard to tailor them after you’ve assembled them and there’s no good way to try them on for fit without those pleats in. I pinned all of the pleats in place and tried on the pants to find that they looked horrible on me.


The crotch area was problematic to say the least. In the words of one of my best friends when I sent her the picture, “1994 called, they want their pants back”. Yes, this won’t do. I added the belt over the top without the belt loops to see if that made a difference but while I adore the shorts version these just pull on my thighs in a very unattractive way.
So what now?
Since I love the shorts version I’ve made, I decided to try to save them by making them into shorts. That didn’t work because the cut of view B and C doesn’t flare the same way and isn’t as flattering to my thighs.


For comparison . . .

I’m standing the exact same but the flared looks better on my thigh and doesn’t accentuate my cellulite.
So now what? Is there any saving of this project? I watched a fun you tube tutorial by Mimi G a while back. In the tutorial she taught people how to transform an old pair of jeans into a jeans skirt. It gave me an idea to try.
I ripped out the inseams and the crotch and cut off a portion of the front and back to craft a skirt and I’m happy to say that after some maneuvering we finally have a finished garment that I like.
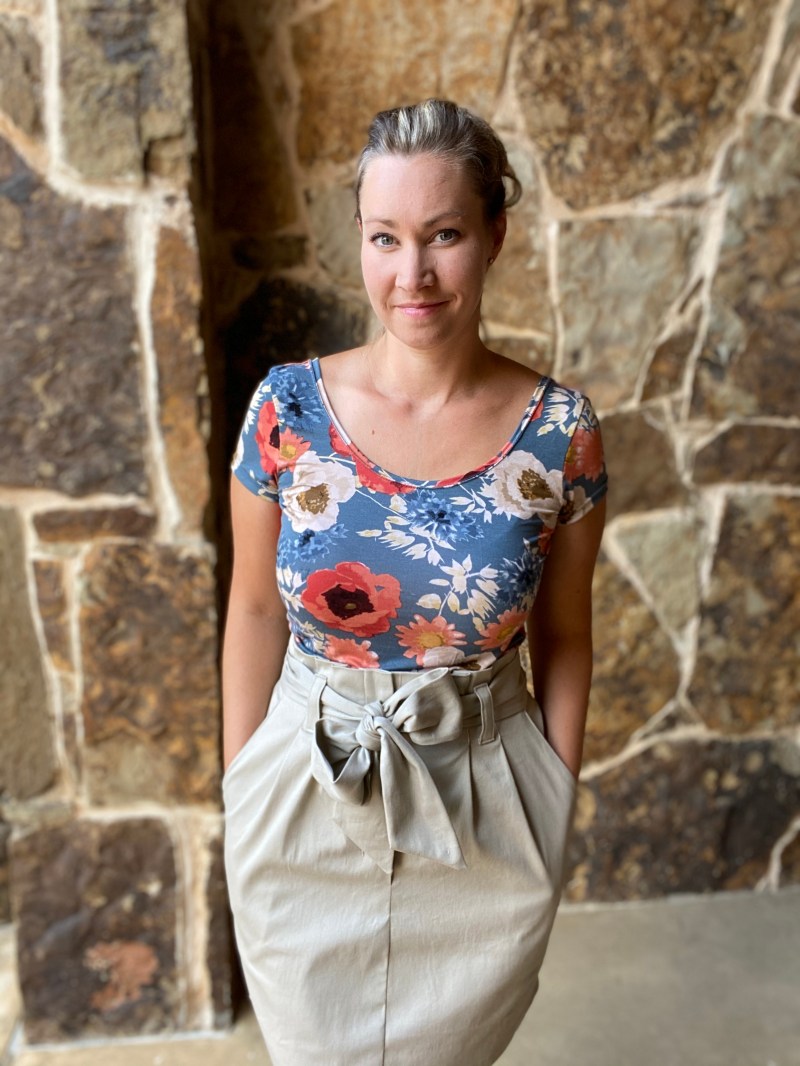
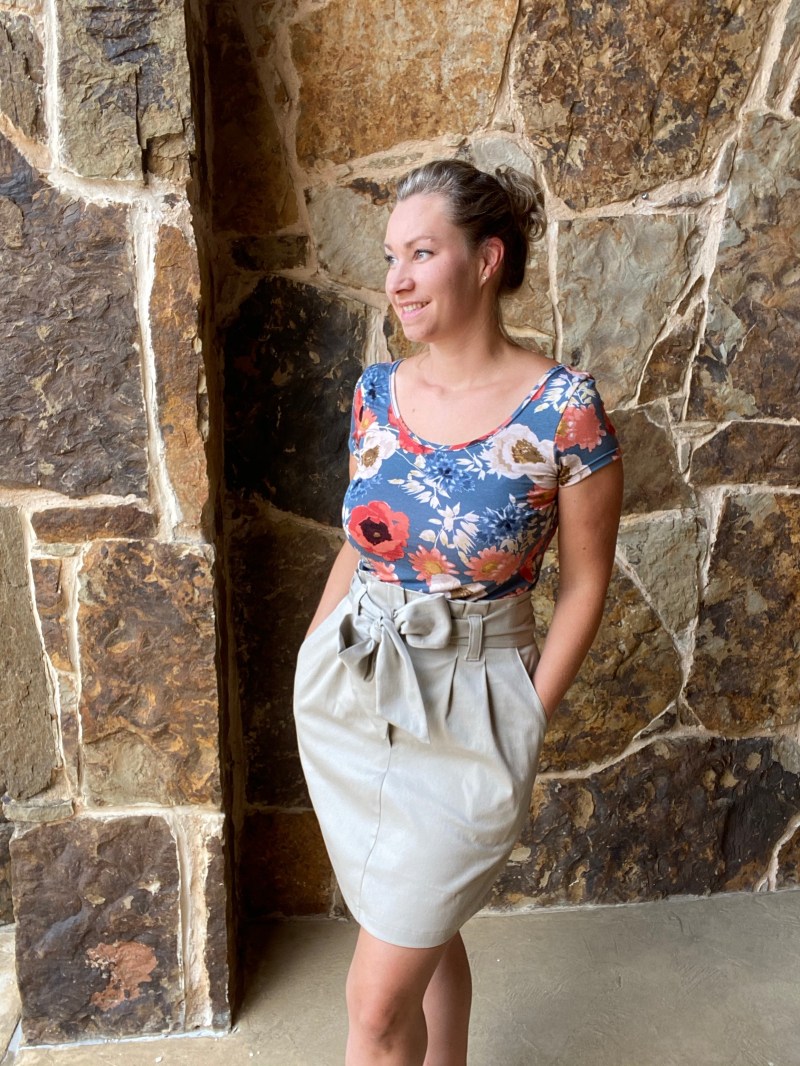
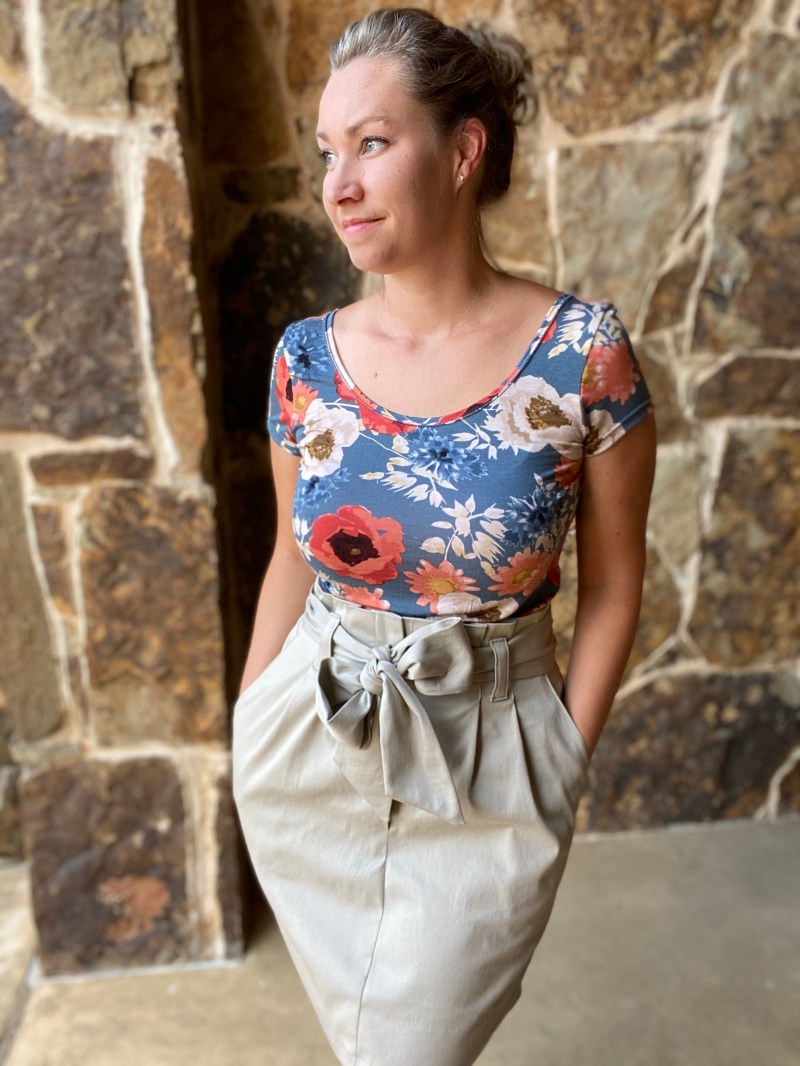

I absolutely did not set out to make a paper bag style skirt AND I actually already have one this color that was store bought, but I love this one so much more. This one is more flattering than the one I bought at Nordstrom a couple of years ago.
Here’s the progression side by side.


I’m shocked it all worked out in the end. Having made both versions of this pattern I can tell you that I prefer the other construction. I love how easy view A and D are to alter. I wouldn’t make the other version again both because it looked awful and the construction is not tailor friendly.
The blue top with flowers was made this week as well. I found a yard scrap in my stash and whipped up yet another Stasia Tee from Sew Liberated. I’ve made seven of these tops so far. They are a wardrobe staple for me now and I love them. It takes me one hour to whip one up and I finally found some amazing white knit so I’m making a white right now.
Until next week, friends. Happy Sewing!

Thanks for posting these blogs. I’m really enjoying reading them each week and following what you’ve been making and you’re takes on how they’ve all turned out. I thought your dress last week looked fabulous, and I’m really impressed by how you managed to re-purpose these trousers so they actually turned out wearable, I agree – the skirt looks fab. Thanks for sharing – they always make me smile :).
LikeLiked by 1 person
Thank you so much! I’m so glad you are enjoying the posts. So much more to come!
LikeLike
Looks great! I really like the bow.
LikeLiked by 1 person
Thank you!
LikeLike
Your perseverance is admirable! That skirt looks fantastic. I found your blog through out mutual FB swing group; and I’m really enjoying your posts and your honest take on patterns.
About muslins, muslin fabric is really easy to dye…I’m finding that all my muslins/toiles (at least the ones that fit well) can be dyed and be added to my wardrobe. Just an option if one doesn’t yet have a stash of fabric or extra bedsheets lying around. 😁
Looking forward to what next week brings!
LikeLiked by 1 person
Thank you! That’s a great idea. I’ll keep the dying idea in mind. This weeks make is so exciting. Can’t wait to share it!
LikeLiked by 1 person