
I thought I’d blog about this pattern differently than normal, many more details and information.
The pattern is as stated Vogue V9252.
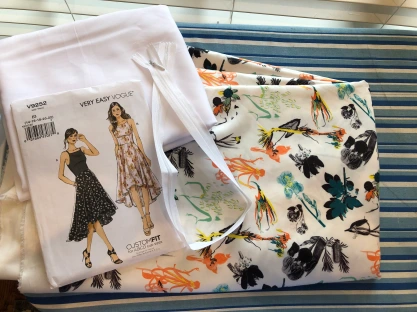
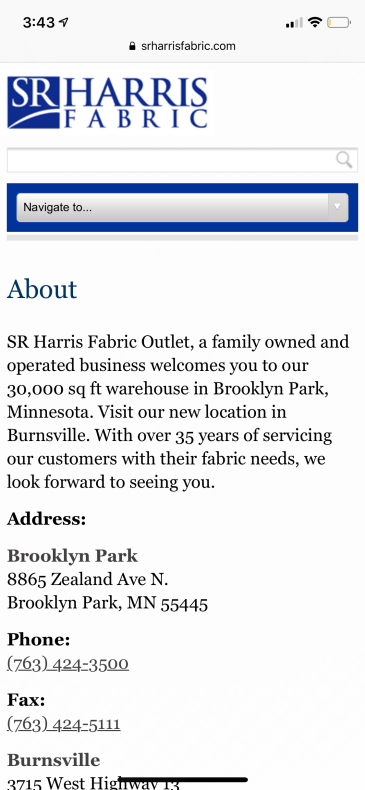
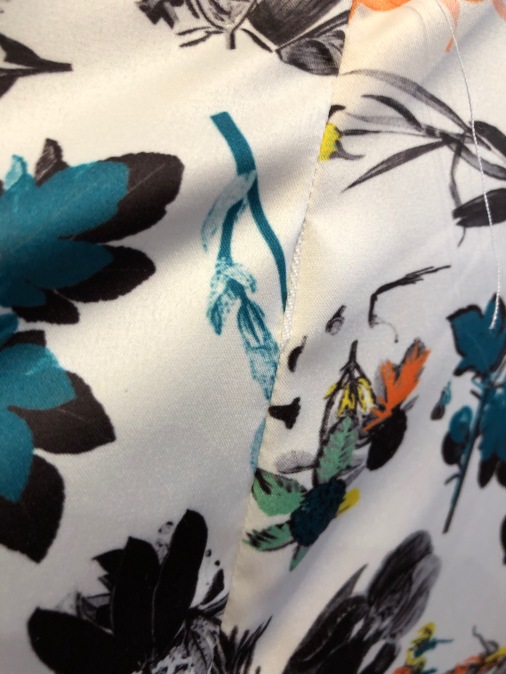
The fabric is a rayon type that I picked up on my Minnesota trip last summer. I bought the fabric at one of my favorite warehouse fabric stores in Brooklyn Park, MN. The white lining was picked up at my local Joann Fabrics.
The first step was to trace the size I wanted to avoid cutting my pattern to an erroneous size. Next I cut out the bodice pieces using an old bed sheet. I’ve started saving them to use for muslins since they are free and I don’t think many people want my used bedsheets. I’m assuming donating them only lands them in the landfill.
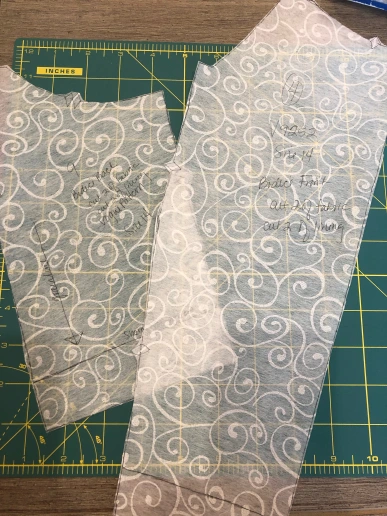
I was instantly happy with the fit and decided to go with the original pattern. I added two inches to the length. I assumed this would be no issue but it turned out to be with the back side pieces and I had to do a little fudging to get it cut out. We will see if this was a critical error in drape soon.


Once the pieces were cut construction began. Here is the bodice constructed and the skirt partially so. I like seeing if the vision is being met or going horribly wrong.
So far so good. I’m doing the back seam differently than it calls for because I think it’s easier to finish after the zipper is in, that way I don’t have to tear it out if there is any discrepancy between the sides.
The bodice and the skirt are not lining up at each of the seams and I’m currently debating if I’m going to leave it or adjust the seams so that they line up perfectly. I’m left with about 3/4 inch extra on each side of the bust. I opted to take apart the seams at the pockets to gain back about 1/2 inch on each side.


The front seams are lined up perfectly and the side and back seams are close. I decided close was better than torturing myself to get to perfect and the fabric is delicate so ripping seams is a risky business.
Next up, adjusting the top of the bodice. There was a little extra fabric over each breast that was unsightly.
Before and after . . .


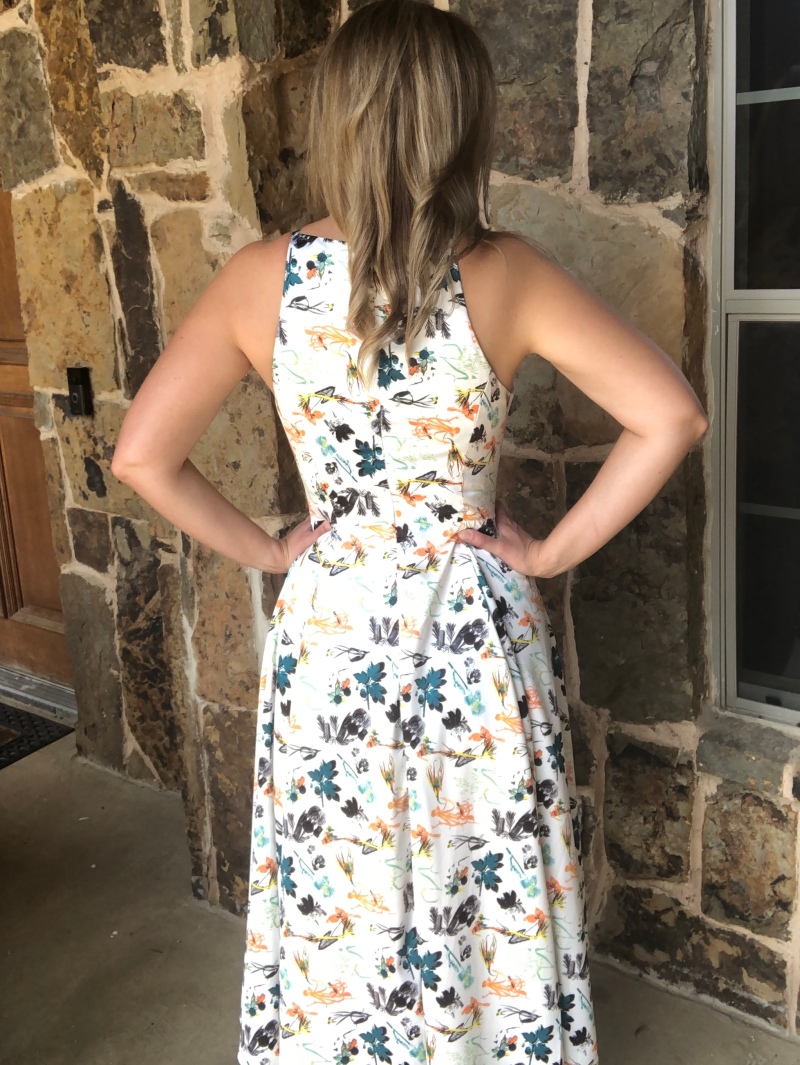
The zipper, lining and straps are attached. The hem, hand sewing and pressing are all that remains of this make. Well, one more thing. I need to rip and fix the spot on the back where I caught the zipper in the seam. Whoops!
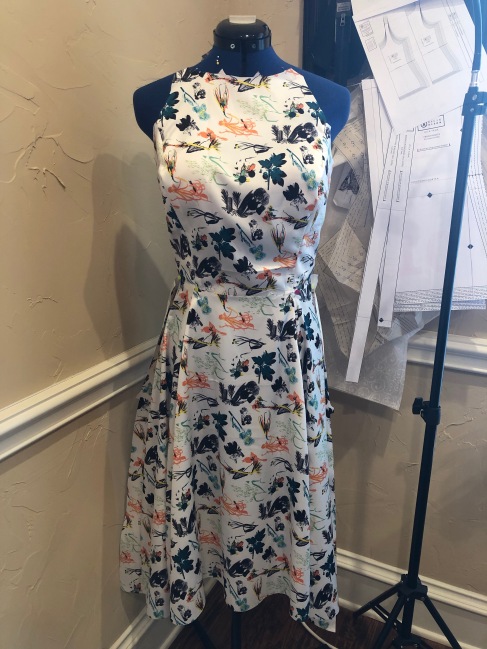
Are you ready to see the finished product?!?!?! I am.
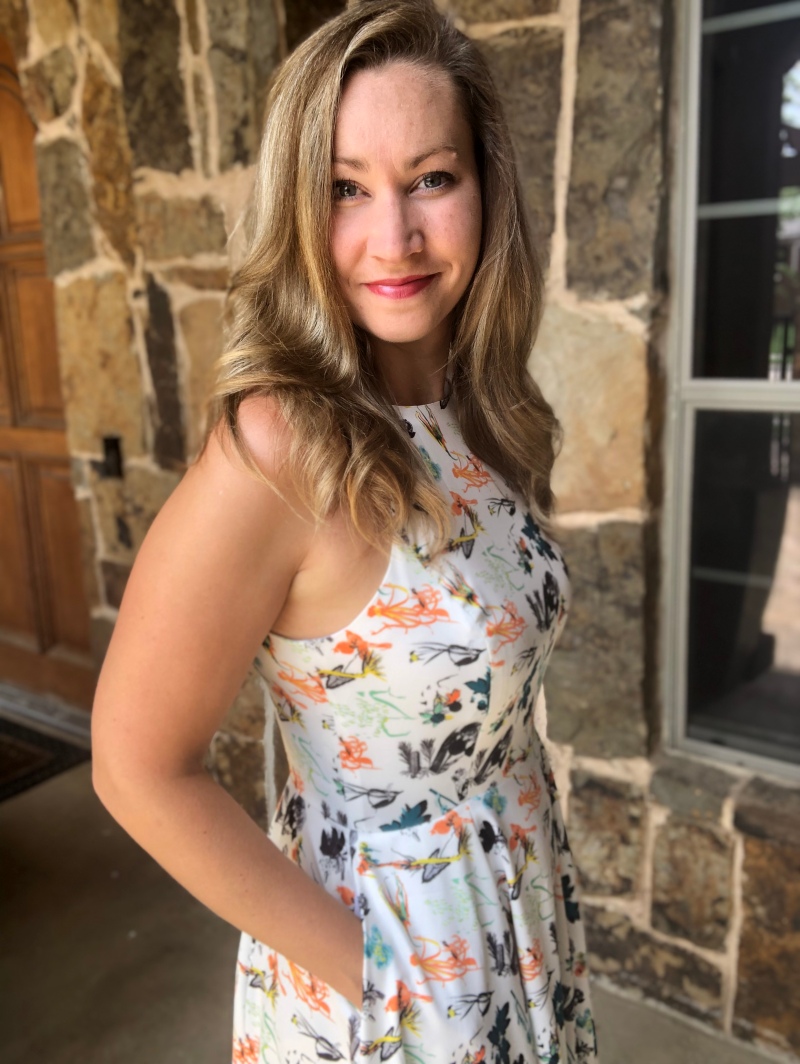

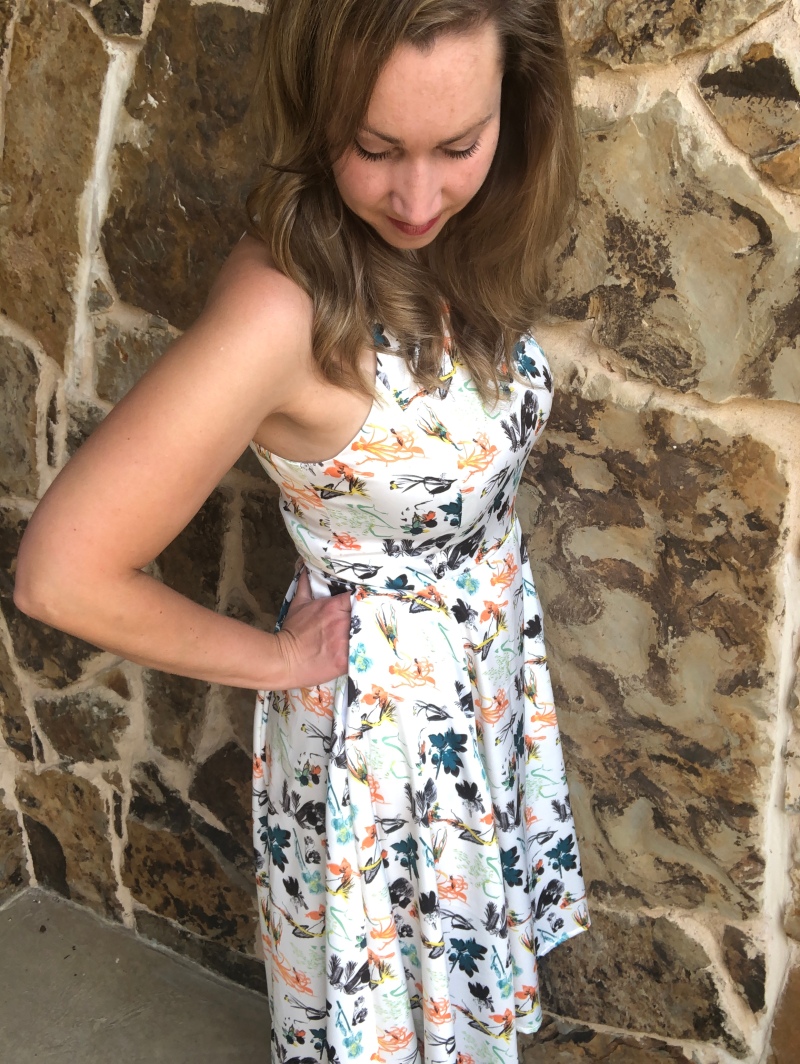

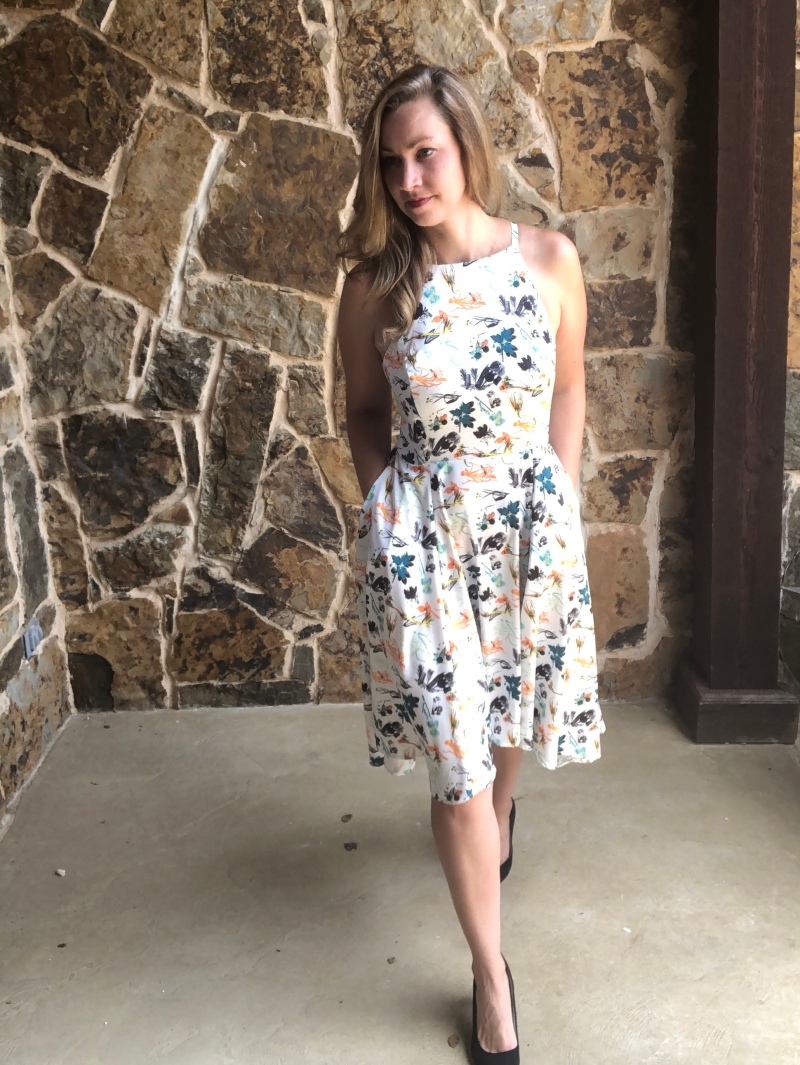
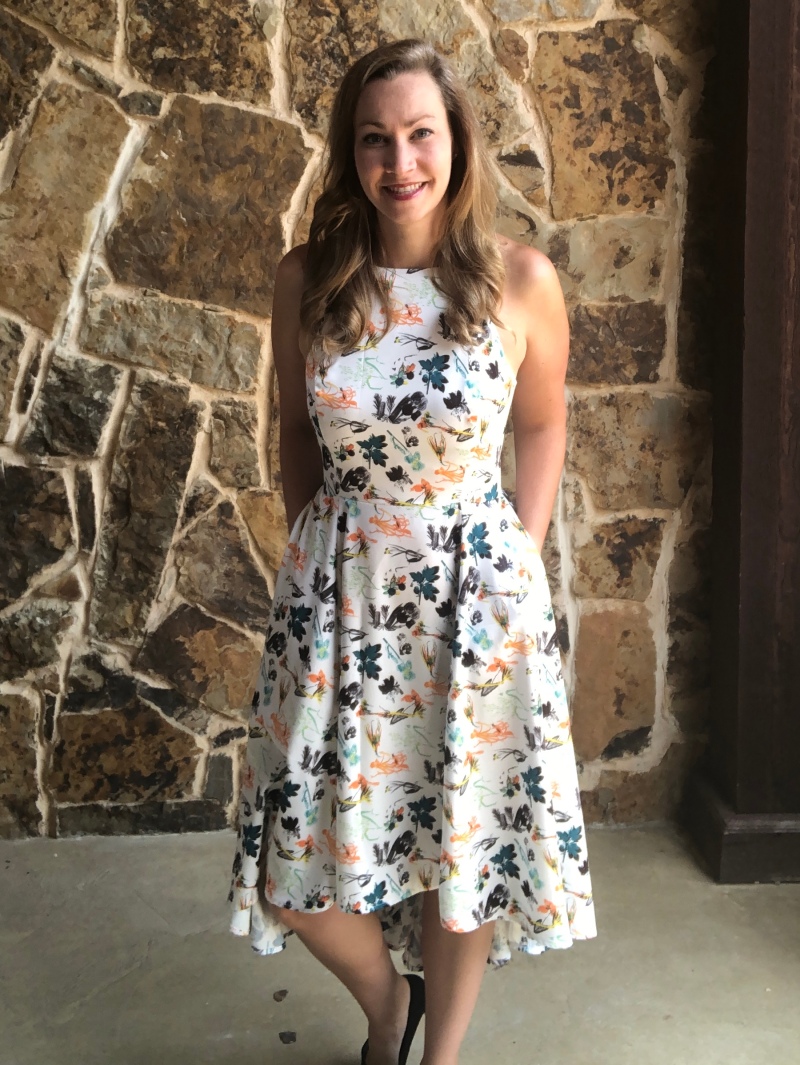
I’m in love and need to go somewhere fancy immediately!!!!
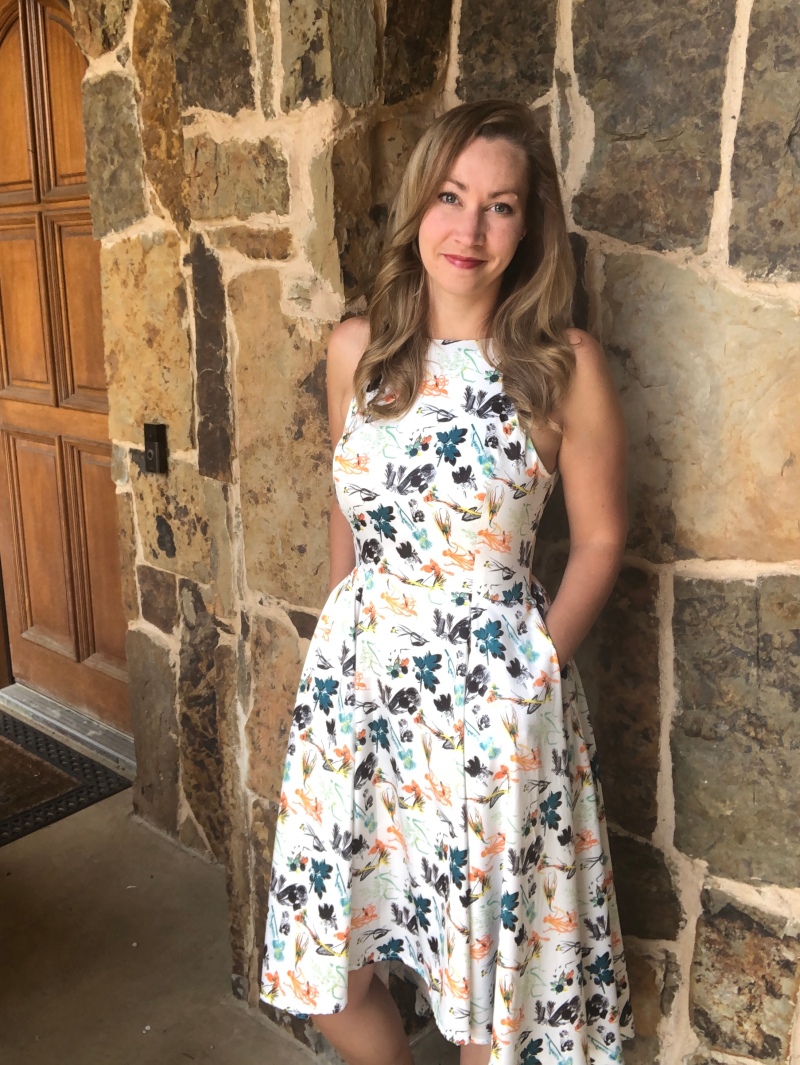
One year after buying the fabric it’s found it’s home in this beautiful dress. Some projects are total failures and some projects are successes, but occasionally they turn out way better than expected and blow away your expectations. This dress is a 10 out of 10 for me on how it turned out. I can’t wait to see where I wear it AND my next project is the Burnside bibs from Sew House Seven. I cut it out and it’s ready to go. I think I’ll blog as I go on the construction just like I did with this one. What do you think, is more detail better? Do you like more info about patterns and construction or just more pictures and the quick overview?

I like more details. Thanks. I love the dress.
LikeLiked by 1 person
Love the dress. As a native Minnesotan I’ve spent many hours at SR Harris – can’t wait to go back there when I go visit in a few weeks.
Please add more details on the construction. I’ve been wanting to get back into sewing after a bit of a hiatus. But recent failures with patterns I’ve tried have sidelined me.Your blog is inspiring me to jump back in the sewing room.
LikeLiked by 1 person
I’m so glad I’ve inspired you. It can be discouraging when you’ve had a series of failed attempts. I’ve been there. I’m finding it helpful to search patterns on instagram and see other peoples’ versions of a pattern before I begin. I’ve found some helpful advice there. One woman piped up and gave some advice on a project I was starting and it saved me loads of issues. There is also a McCalls/Simplicity facebook page that can be helpful. I’m just beginning to start sewing Indie sewing patterns. A Colorado woman started Indie Sew which is an online store that has loads of indie sew patterns and her Kila tank pattern was delightful. It was the easiest pattern to follow and had a genius construction for the tricky knit neckline. Some of the indie patterns are better for instructions and even help since the companies are easier to ask questions and often have tutorials. Closet case patterns just dropped an entire collection of patterns specifically geared towards beginner sewists and they are creating tutorials to go with it. I’ve watched her jeans class and she’s great. I hope any or all of that helps. Please don’t let your set backs keep you from sewing, we’ve all had them. It’s such a great and rewarding hobby!
LikeLike
Thank you for blogging about this pattern! I’m about to begin it, and saw you have a lot of helpful tips on here. Also, the fabric you chose is absolutely stunning on you!
I seemed to have misplaced #16 (the shoulder strap). Do you happen to still have the pattern? I’m wondering if you could give me the measurements so I can still make it!
Thanks a bunch!!!!
Danielle
LikeLiked by 1 person
Thank you! Do you still need it? Sorry for not seeing this sooner. I have called pattern companies about missing pieces and gotten them emailed. Let me know if you still need it.
LikeLike
That’s really cool, I didn’t know you could do that! I do still need it if you have the chance to send it!
LikeLiked by 1 person
Ok, I’ll dig out the pattern and send you the info.
LikeLike
The pattern piece is 1 1/2 inches by 8 1/4 inches. The grain goes the long way. It allows for 3/8 inch seam allowances. Cut two for B of fabric and Cut 2 of contrast for view A. My pattern is for sizes 14-22 and the piece is the same for all sizes. Happy Sewing!
LikeLike
Sorry it took so long. I have five kids at home and a husband. The distractions around here are many!!!!
LikeLike
Thank you!!!!
LikeLike